
80s nail art was built on commitment: neon at full saturation, bold geometric patterns, clashing color blocks and length worn as a statement. Nothing about it was subtle, and that is exactly why the look feels fresh again.
These 15 ideas borrow the decade’s colors and patterns and pair them with modern gel techniques for cleaner, longer-lasting results. Each one is described clearly enough to show your nail technician or to match with a press-on set, along with tips for recreating it at home.
Bold Color 80s Nail Designs
Full Neon Set
Paint each finger a different neon: electric pink, neon orange, acid green, vivid yellow and electric blue, repeated in the same order on both hands. No nail art is needed. The color lineup and the confidence to wear all five at once make the whole design.
Pick the brightest gel shades you can find and skip anything leaning pastel. Neon pigments are often sheer, so lay down a white base coat first to make every shade glow at full brightness. Finish with a glossy top coat, since matte finishes dull neon. Short square or squoval nails work just as well as long ones here.
Hot Pink with Black Geometric
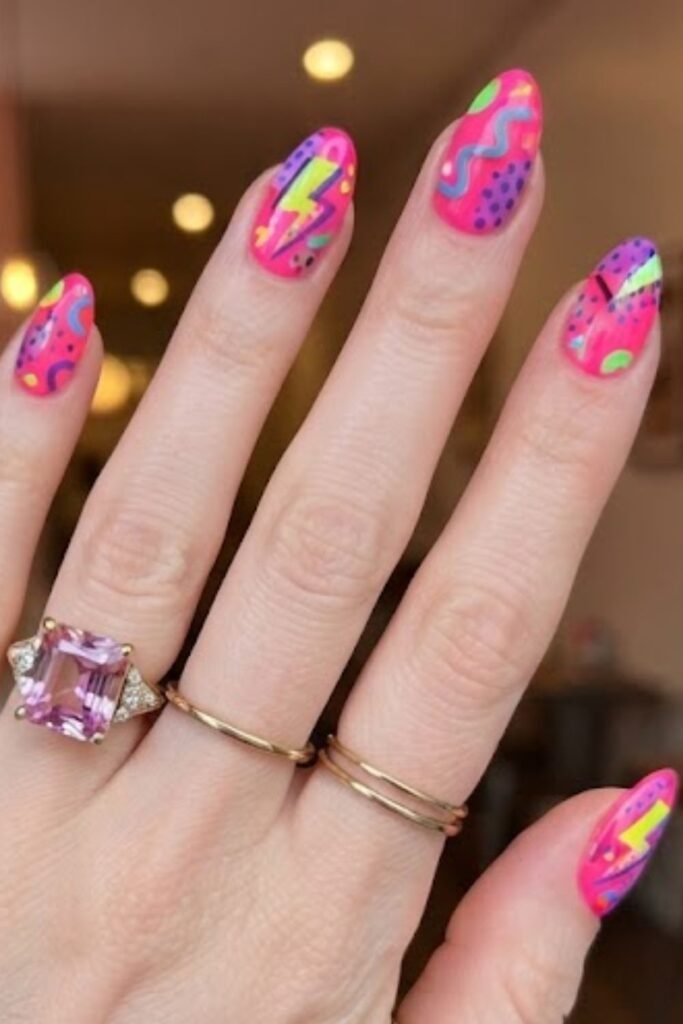
A hot pink base covered in bold black triangles, chevrons or diagonal stripes uses the decade’s most recognizable color pairing. Pink and black together say 80s instantly, so the shapes can stay simple.
Use nail tape to mask off clean edges before filling each black section, then peel the tape while the polish is still wet. Keep the shapes large, since fine geometric lines look modern while chunky shapes look authentically retro. Ask your technician for black gel paint for the sharpest finish, and mix up the shapes from nail to nail so the set looks hand-designed instead of stamped.
Color Block Primary Set
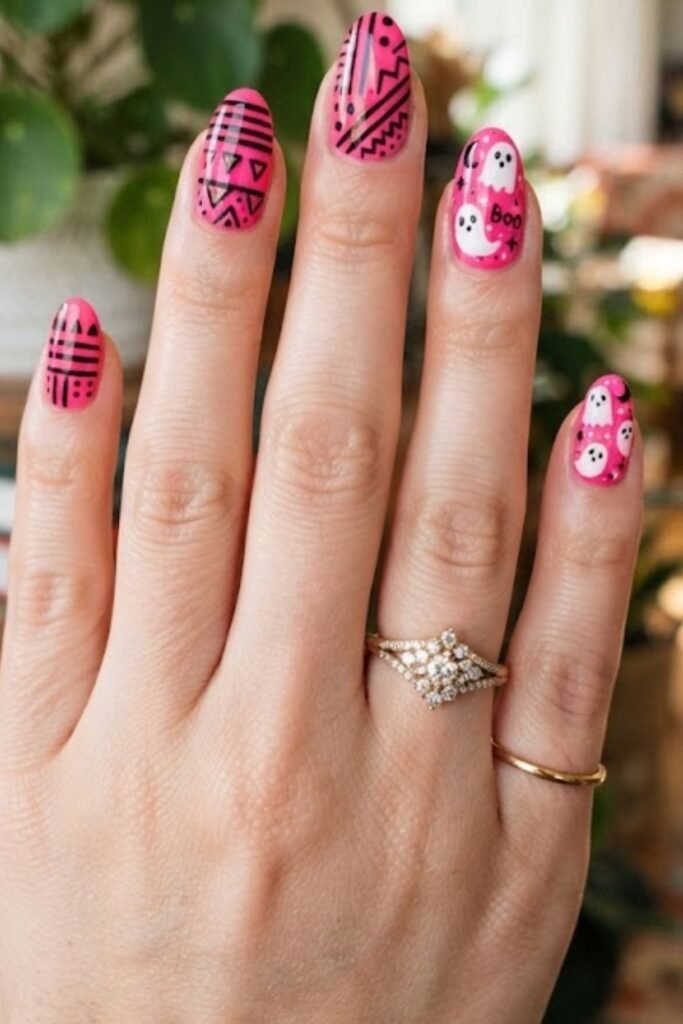
Give each nail a flat block of pure red, yellow or blue, and use black and white as the neutrals between them. With no gradients or blending, the set looks like 80s graphic design shrunk onto your fingertips.
Apply each color in two thin gel coats for full opacity, curing between layers. No extra art is needed. Keep every shade flat and fully saturated, because soft edges or muted tones make it look current. For a twist, split a single nail into two blocks with nail tape, or add a thin white line between colors. It suits short and medium nails especially well.
Electric Blue with Silver Lightning Bolt
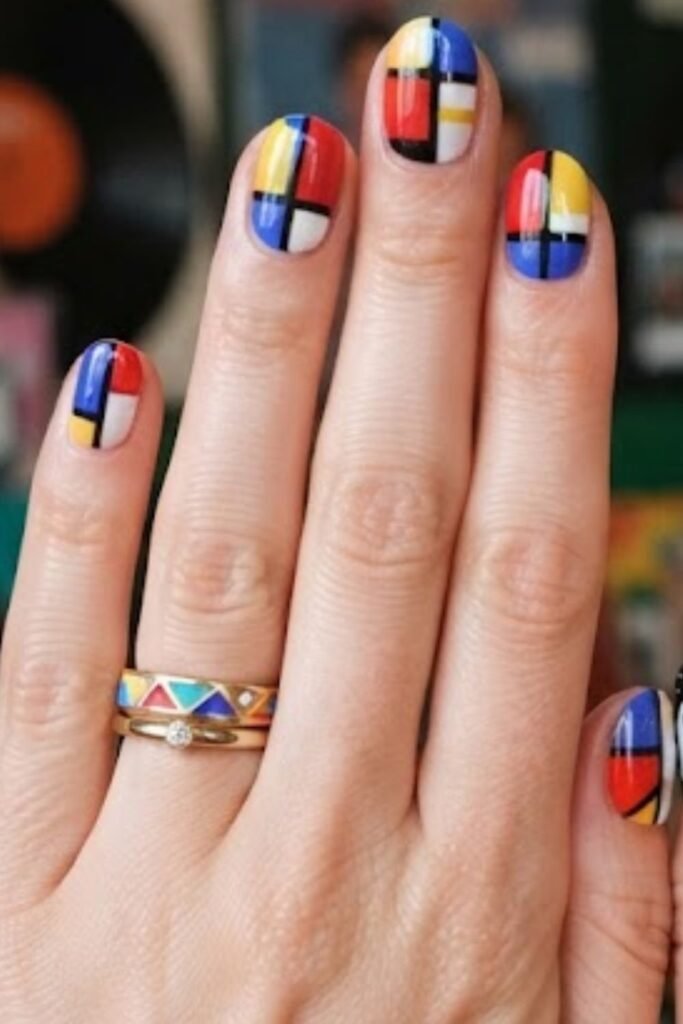
An electric blue base with a silver lightning bolt slashed diagonally across each nail nods to rock and pop culture at the same time. The silver bolt against vivid blue is an instantly recognizable symbol, and clean edges make it look polished.
Outline the bolt with a fine detail brush before filling it with silver gel or metallic polish. Run it from the upper left corner of the nail down to the lower right, and keep its width consistent on all ten nails. If freehand feels tricky, use lightning bolt nail stickers or vinyl stencils. Medium almond or coffin shapes give the bolt the most room.
Pattern and Texture 80s Nail Designs
Neon Animal Print
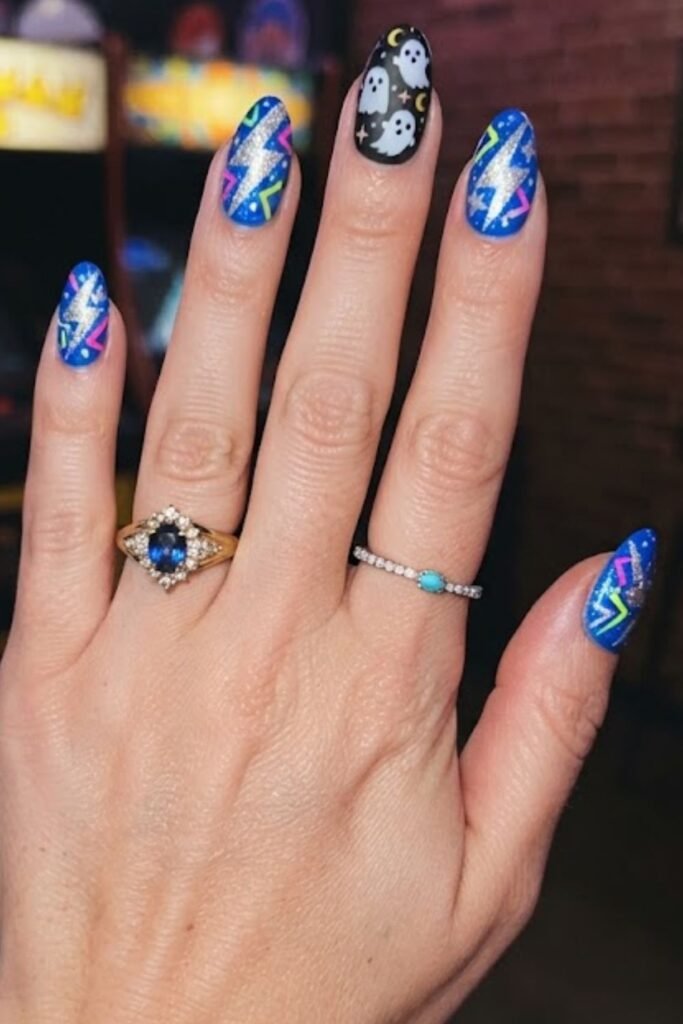
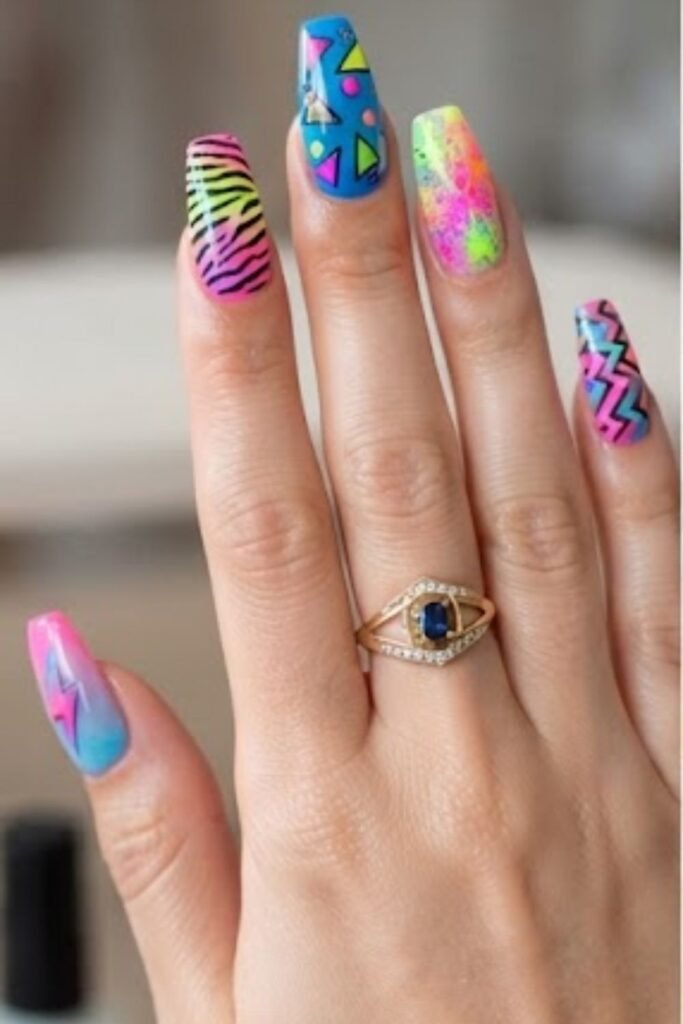
Leopard or zebra print in neon colors instead of natural browns looks unmistakably 80s. Try a neon pink leopard print on an acid yellow base, or electric blue zebra stripes over hot pink, for a playful, deliberately retro result.
For leopard, apply and cure the base, then use a dotting tool to place irregular ovals in a darker neon or black, and add small broken C-shaped outlines around each spot. For zebra, paint wavy, uneven stripes with a thin striper brush, tapering each one at the ends. Wear the print on every nail, or limit it to accent nails with solid neon on the rest.
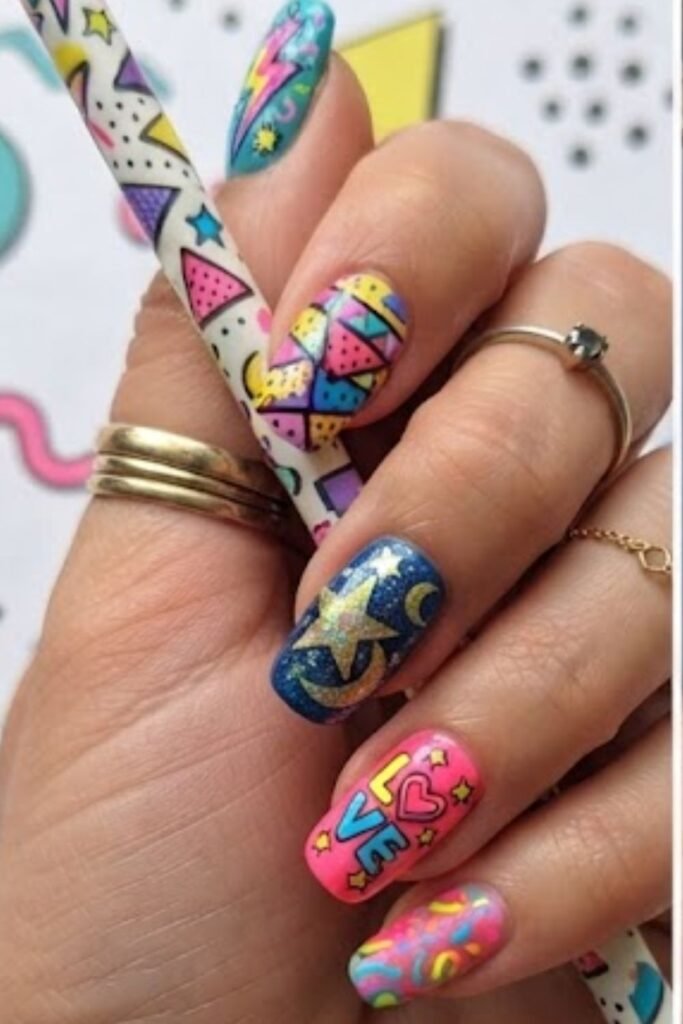
Memphis Design Pattern
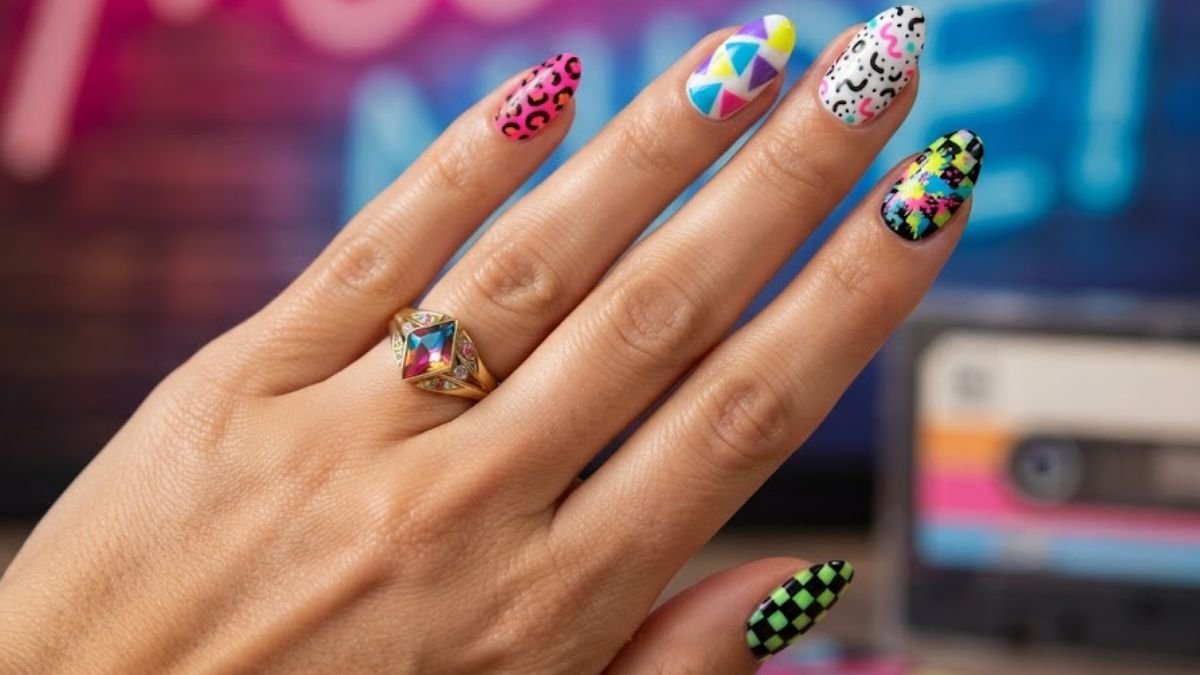
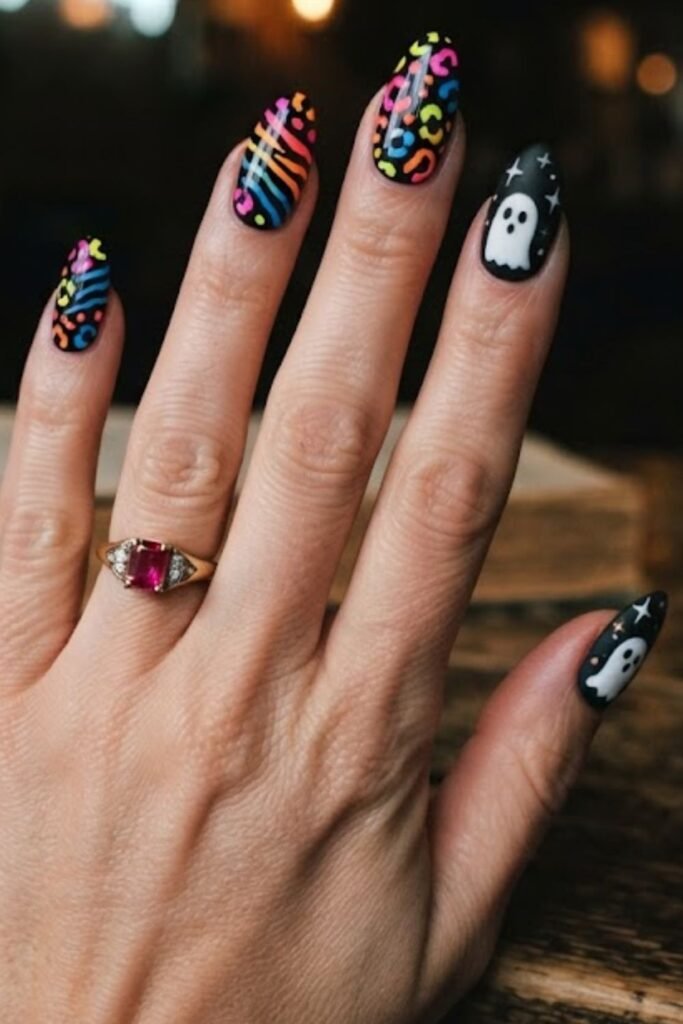
The Memphis design movement of the early 1980s created a playful graphic language of squiggly lines, polka dots, triangles and abstract shapes in clashing brights on white or grey. On nails, that means a white base scattered with black squiggles, yellow triangles, red circles and turquoise dots.
Paint the black squiggles first over a cured white base, then fill the gaps with colored shapes. Aim for a busy, energetic layout instead of a perfectly balanced one, since controlled chaos is the whole style. A fine striper brush and a small dotting tool handle every element. Medium-length square nails give the pattern enough space to read clearly.
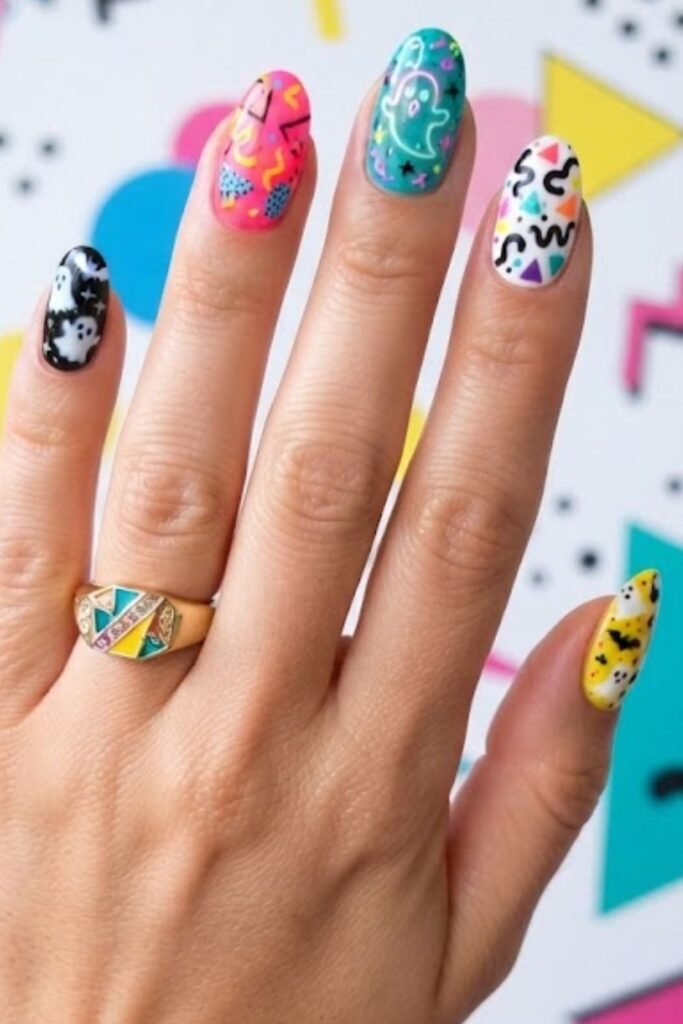
Diagonal Stripe Set
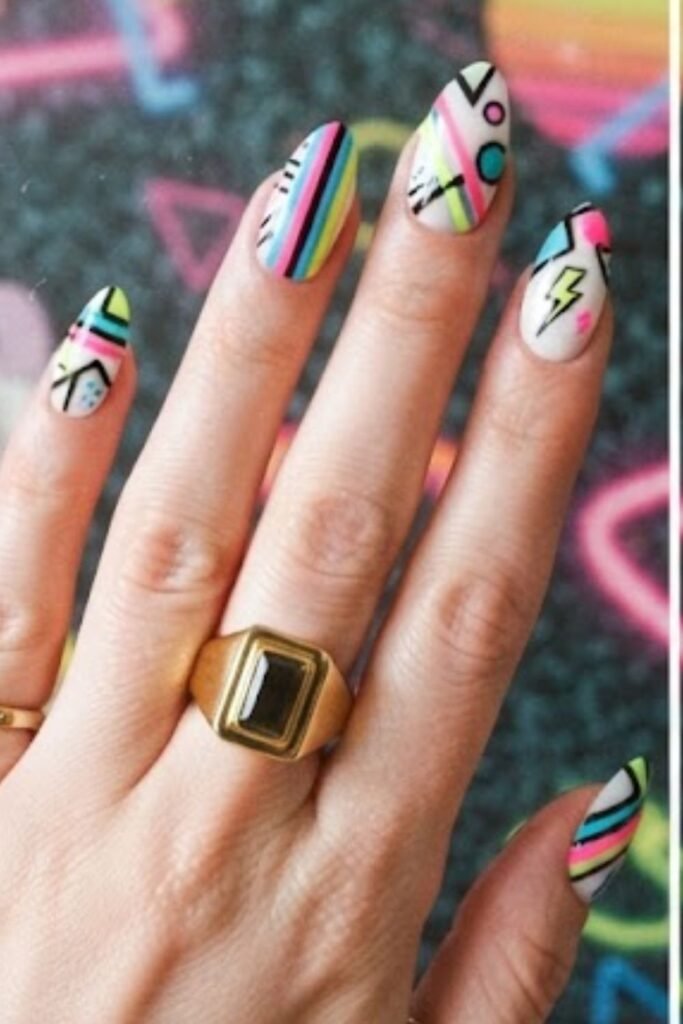
Bold diagonal stripes in two or three contrasting colors, such as hot pink and black, electric blue and yellow, or neon orange and white, are the quickest pattern on this list. Run them from the lower left corner to the upper right at even widths.
Lay nail tape diagonally across the nail to mark each edge before filling the color sections, and keep the stripes wide enough to read as bold blocks. Thin pinstripes look modern. Once you are comfortable with tape, the same masking method used in these ombre nail ideas lets you blend one stripe into the next for a softer variation.
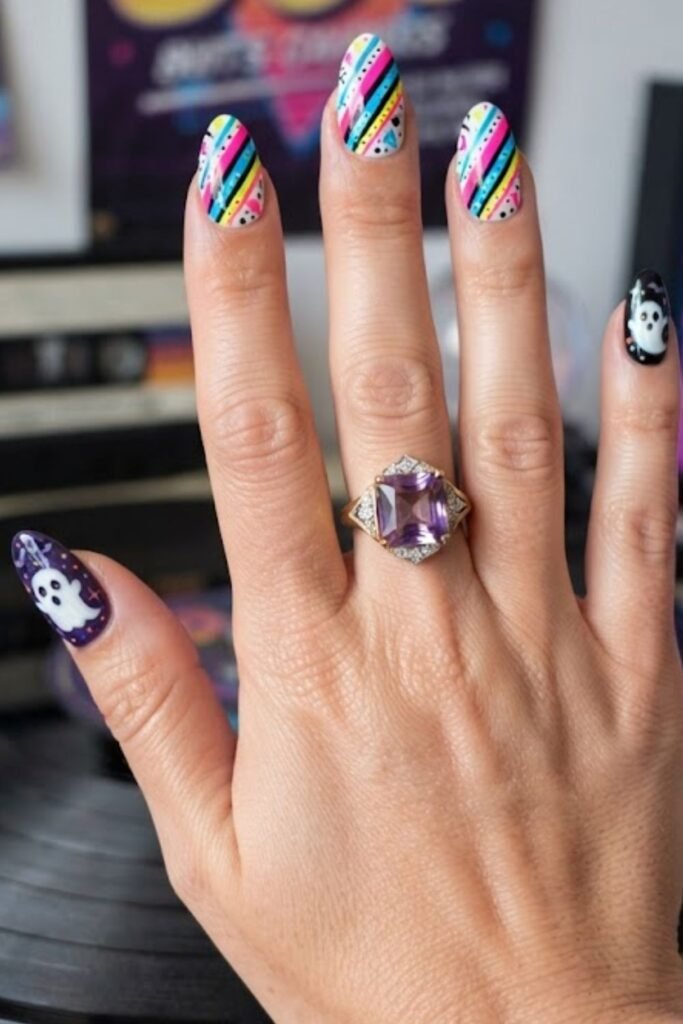
Polka Dot on Neon
Large white or black polka dots on a vivid neon base are playful, unmistakably 80s and easy to do. On a bright base, the classic dot loses its sweet retro feel and turns bold.
Place the dots in a loose grid so the design looks planned. Use a large dotting tool, or the rounded end of a bobby pin, for even dot sizes, and wipe the tool clean every few dots. Mix it up by doing white dots on one hand and black on the other, or dots on two accent nails only. Seal with a thick glossy top coat to smooth any raised dots.
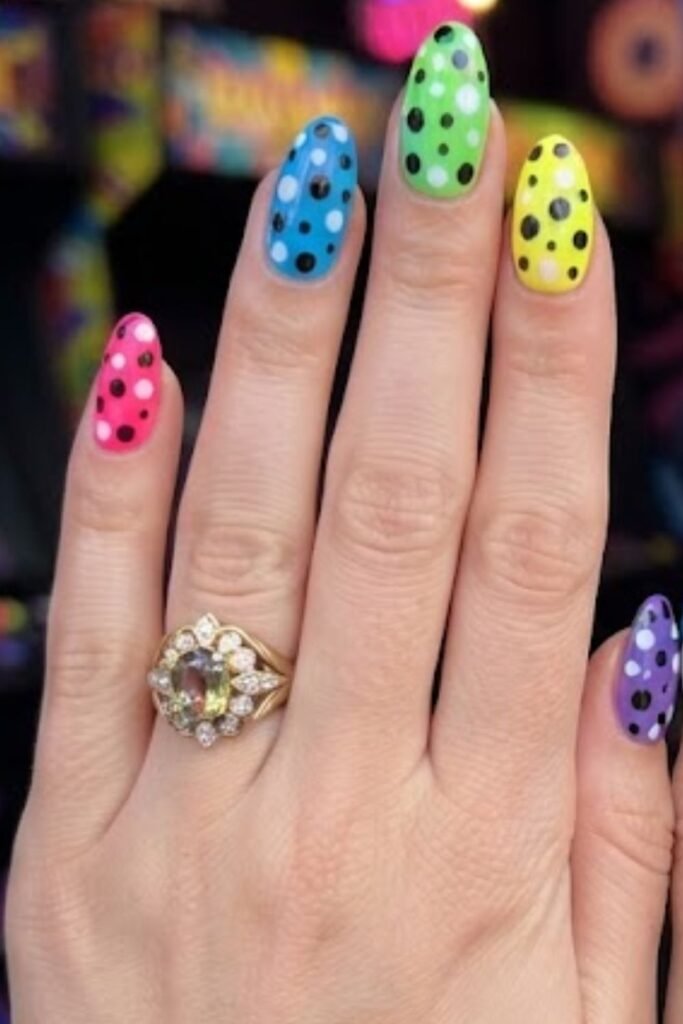
Glam and Metallic 80s Nail Designs
Full Glitter Neon
Pack neon pink, orange or gold glitter gel densely over the whole nail for a disco-ready set. Fine glitter in a neon tone throws a warm, vivid sparkle that standard silver glitter cannot match, and it looks especially festive under party lights.
Apply two coats for full coverage, curing between each, and put a white base underneath to make the neon tint brighter. Dab the glitter on with the brush instead of painting long strokes, which helps it pack evenly. For more ways to make color glow on the nail, these aura effect nail ideas use the same vivid tones in a softer, airbrushed finish.
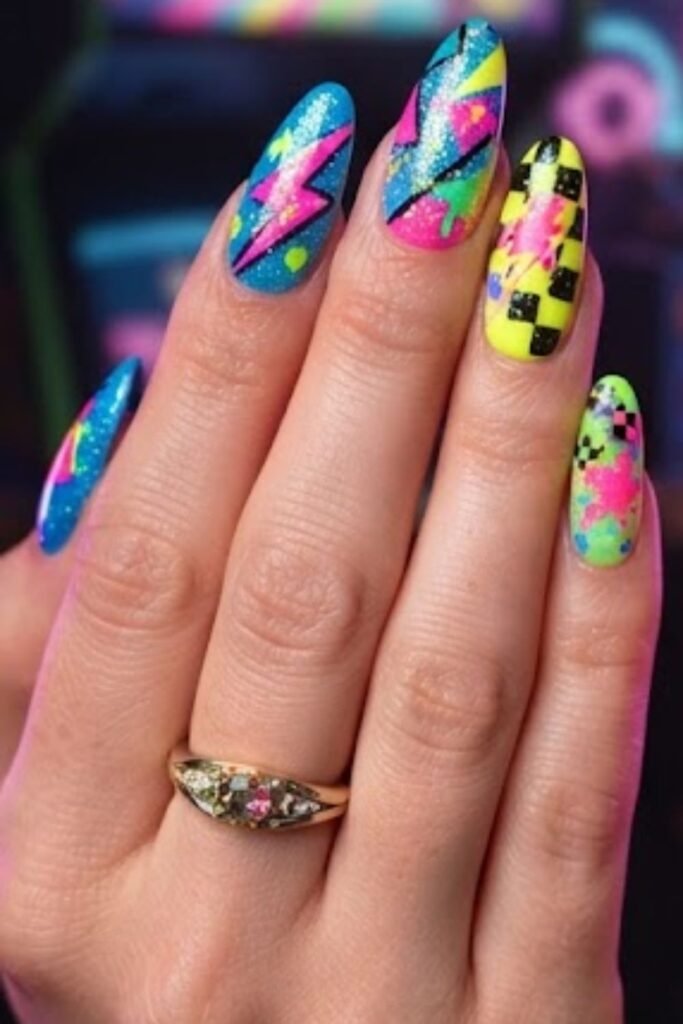
Gold Chrome on Long Coffin
Mirror-finish gold chrome on a long coffin shape captures 80s power dressing. Length, gold and shine together signal the era’s glamour and confidence, and chrome powder recreates that liquid-metal finish better than any polish could at the time.
Rub gold chrome powder over a cured no-wipe gel base with a silicone tool or sponge applicator until the surface turns mirror bright, then seal with a no-wipe top coat to keep it from dulling. Keep the shape sharp and the length long. If you love the look, our goddess nail designs explore more gold and metallic finishes.
Foil Marble in Jewel Tones
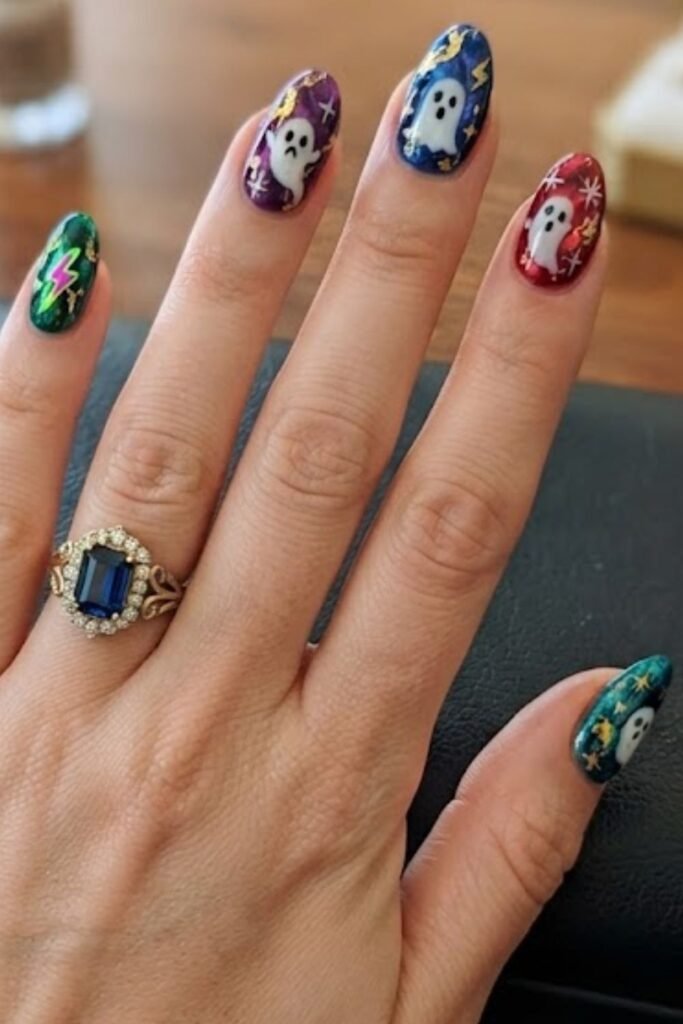
Swirl deep teal, vivid purple and electric blue together, then add gold foil veins. The result echoes the glossy marble and lacquer of 80s luxury interiors and works as a glamorous counterpoint to the neon designs on this list.
Drop the jewel tone gels onto the nail in loose swirls and drag them together with a thin brush before curing. Press small pieces of gold transfer foil onto a tacky foil gel over selected areas so the gold transfers in broken, natural-looking veins. Seal with a thick glossy top coat. Oval and almond shapes suit the flowing pattern best.
Art and Illustration 80s Nail Designs
Abstract Squiggle Art
Loose, hand-drawn wavy lines in contrasting neons overlap across a white or black base. The squiggle was a graphic signature of 80s pattern design, showing up on fabric, packaging and album art, and on nails it looks artistic and full of energy.
Load a fine striper brush with neon gel and draw continuous wavy lines from one side of the nail to the other, letting them curve, loop and cross. Layer two or three colors, curing between each, for the most authentic effect. Keep your hand relaxed, because wobbly lines look more natural than careful ones. It works at any length.
Mixed Media Set
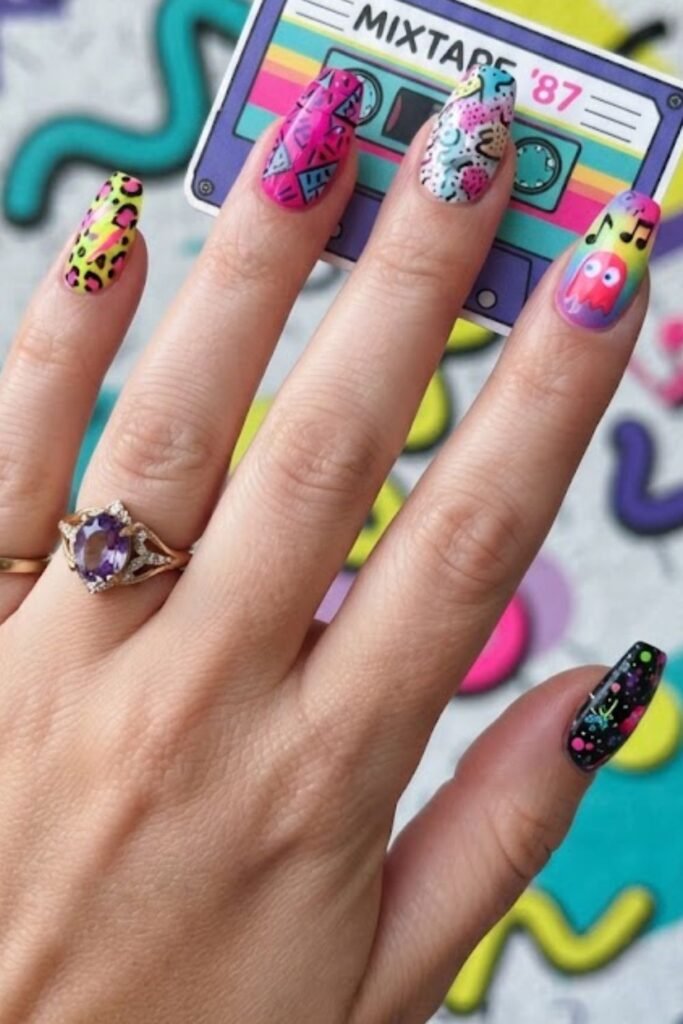
Give every finger a different 80s design: neon stripes on the thumb, polka dots on the index, a lightning bolt on the middle finger, squiggles on the ring finger and solid neon on the pinky, mirrored on both hands. A shared neon palette ties it all together.
Cycle the same three or four neon colors through all ten nails while the designs change. That repetition is what keeps the set cohesive instead of chaotic. It is also a fun way to sample several looks from this list before committing to one. Ask your technician to sketch the plan first, since mixed sets take longer to paint.
Retro Star and Moon
Gold or silver stars and crescent moons on a deep purple or electric blue base feel very new wave and synth-pop. Keep the stars bold and slightly oversized with a classic five-point shape, which separates this from today’s fine, minimalist celestial nails.
Use a star stamp, stickers or a fine round brush to place stars at different positions across each nail. Mix large and small stars on every nail and add one crescent moon to a couple of accent nails. Metallic gel paint or foil gives the strongest shine against the dark base. Finish with a glossy top coat.
Neon French Tip
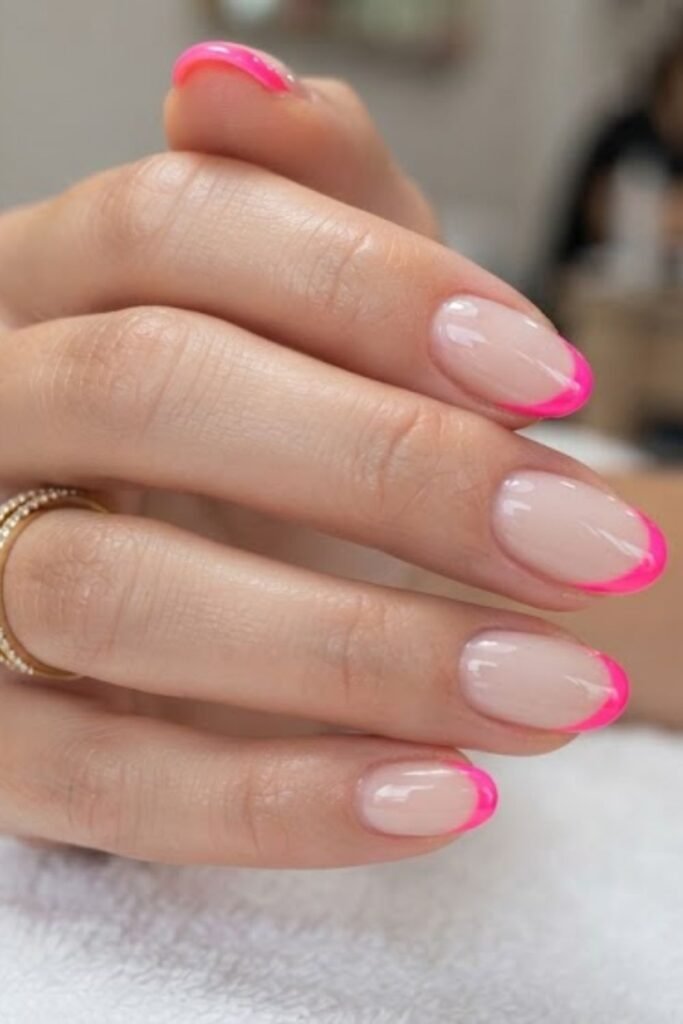
Swap the classic white tip for electric pink, acid green or neon orange over a sheer nude base. The clean structure of a French manicure stays the same, while the bright tip pulls it straight into the 80s.
Paint a thin white layer under the tip area first so the neon stays bright over the nude base. Use nail tape or a silicone stamper to get a clean smile line, then finish with glossy top coat over the whole nail. For tip shapes and widths that suit different nail lengths, see our French nail ideas. Try a different neon on each finger for a rainbow version.
Tips for 80s Nail Art
Choose the Most Saturated Shade
Saturation does most of the work in 80s nail art. Pastel pink looks modern while electric hot pink looks 80s, and dusty teal reads as vintage while acid green reads as the decade. When choosing colors for any design here, go for the brightest version of each shade.
Use a White Base Under Neons
Neon gel and polish are often sheer, so they look muted over the natural nail. A white base coat underneath reflects the color back at full brightness. This one step matters for every neon design on this list and makes the biggest difference to the final result.
Go Bigger With Every Detail
Stripes, dots, lightning bolts and squiggles should all be sized to look bold. Thin lines and tiny dots feel delicate and modern, while thick lines and large dots feel like the 80s. When in doubt, make each element a little larger than seems reasonable.
Frequently Asked Questions
Which 80s nail art design is easiest to do at home?
The full neon set, color block primary set and polka dot on neon are the easiest. They need only the right colors, a white base coat and a dotting tool for the dots. The diagonal stripe and hot pink geometric designs need nail tape. The Memphis pattern, squiggle art and lightning bolt need a fine striper brush and some freehand practice.
What nail length suits 80s nail art best?
Medium to long nails feel most authentic, since the decade linked length with confidence and style. Coffin and almond shapes suit the geometric, stripe and glam designs. The neon French tip and polka dots both look great on shorter nails. The gold chrome design needs real length to make its statement.
How do I keep neon nail colors from fading?
Start with a full white base coat, and choose gel cured under a UV or LED lamp, which holds neon pigments better than regular polish. Wear gloves for cleaning and limit long soaks in water, since harsh chemicals and water exposure dull the top coat. A fresh layer of glossy top coat can revive the shine on regular polish.
Can I get the 80s look with press-on nails?
Yes. Neon, geometric, polka dot and mixed pattern press-on sets are easy to find. Check that neon sets look opaque and bright, a sign they were painted over a white base. For detailed designs like Memphis patterns or squiggle art, hand-painted press-ons from independent nail artists usually offer the best detail.
What makeup goes with 80s nail art?
Choose makeup with the same bold energy: a vivid eyeshadow that matches or contrasts with your nails, a strong defined brow and a bright lip in a clashing shade. Graphic black liner, a pink or red lip and a neon or primary eye color all work well with these manicures.
Final Thoughts on 80s Nail Art
80s nail art has one of the most recognizable color and pattern vocabularies of any decade. The fifteen designs here cover the full range, from a five-color neon set to a single gold chrome coffin and from Memphis squiggles to a clean neon French tip.
Every one of them follows the same rules: saturated color, bold scale and full commitment. Start with a simple neon set or polka dots, then work up to freehand squiggles and lightning bolts once you have the hang of it.